13CA350
Member
I recently bought a Raspberry Pi because I will be moving soon, and will be able to stream the Local Fire Department there.
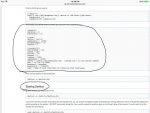
I have everything I need, and have followed the directions from this article multiple times.
https://wiki.radioreference.com/index.php/Raspberry_Pi_Broadcastify_Build
I haven't been able to get it to work, and it seems that it may be because the guide is outdated and the commands don't work anymore.
I haven't gotten much help from email support, they basically told me to ask here....
If anyone at all has done this before or has any advice, it would be greatly appreciated. It's surprising that a website who wants you to stream your scanner to them doesn't provide much support....