
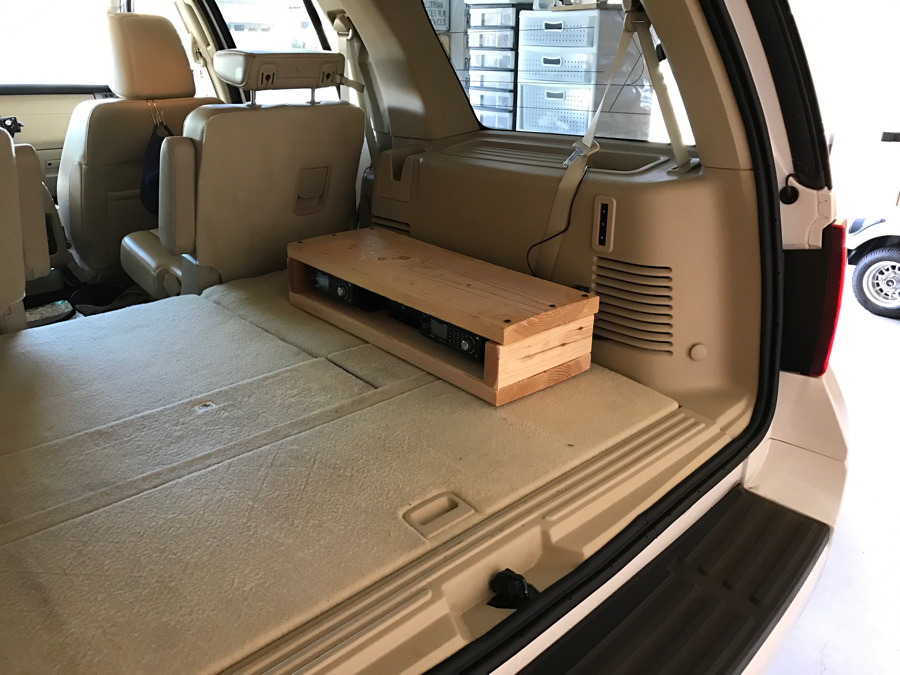
In an earlier thread (http://forums.radioreference.com/pictures-your-shack-mobile-setup/338756-n9jig-2016-expedition.html) I had used 2x16 lumber to create a heavy box for my radios in the rear of my new truck. It was large and cumbersome as I found out. I had left enough tail to allow me to turn it in the truck bed as needed but it still bounced, especially when I drive on some of the dirt roads around here. The wooden top allowed me to put groceries etc. on top.
I looked and eventually found a nice wooden box on Amazon that was just the right size for my needs. I wanted something about 12 inches square, of finished wood and sturdy construction.I found this box, it was actually sold as cubby storage, the type you put a few pieces together to make shelves for knick-knacks etc.
Here is the old box:
Here is the box before it was populated on the work bench:
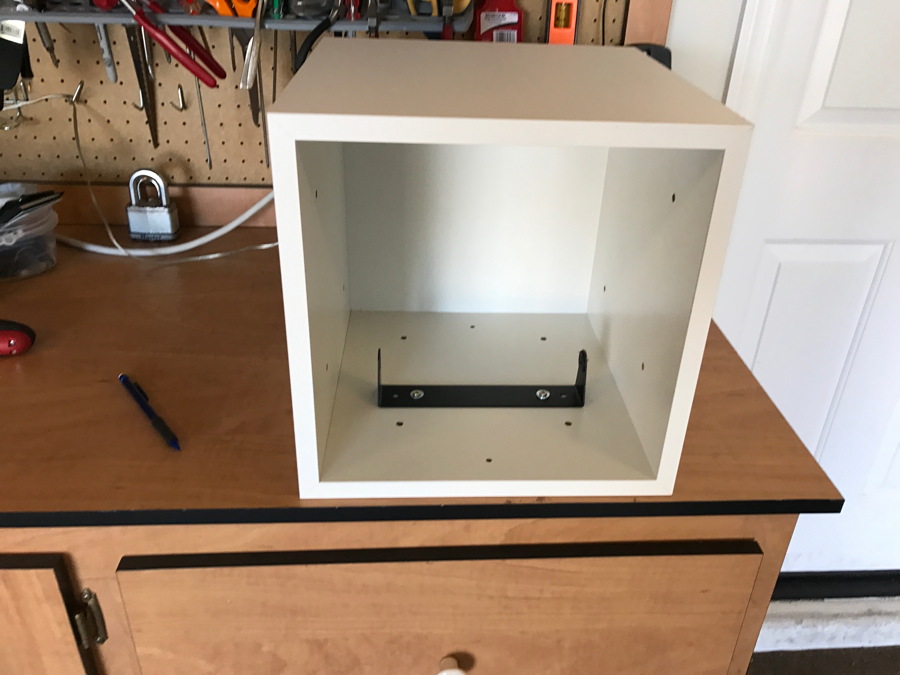
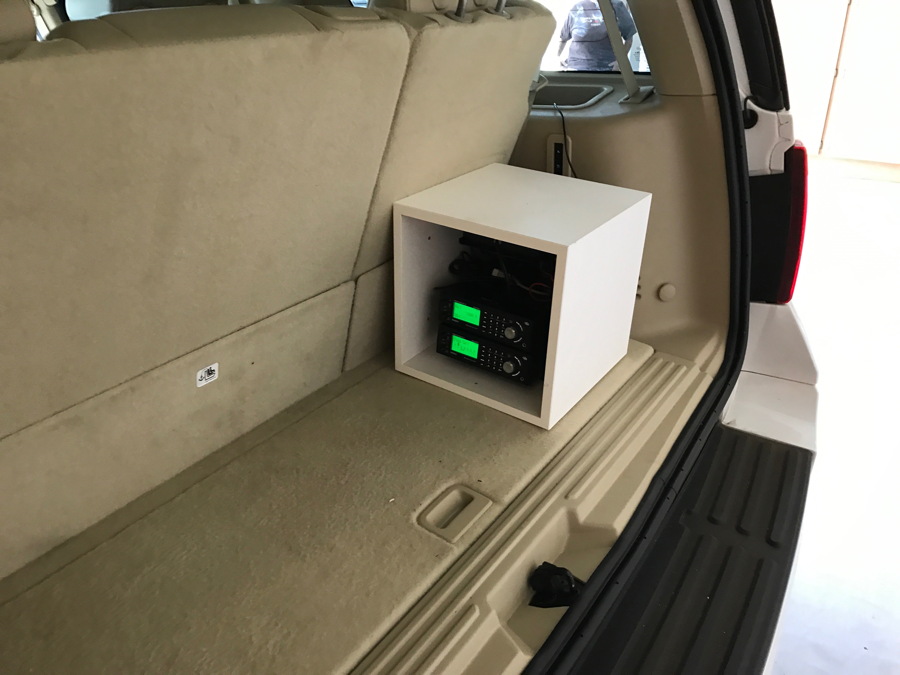
Next, I mounted the brackets for the 3 radios (2 996XT's and an Alinco DR-638) and then drilled 2 large holes in the rear for cable passage. I pulled the wires into the box, connected them and mounted the radio. Heavy duty Velcro hooks on the bottom keep it well secured to the floor of the truck bed.
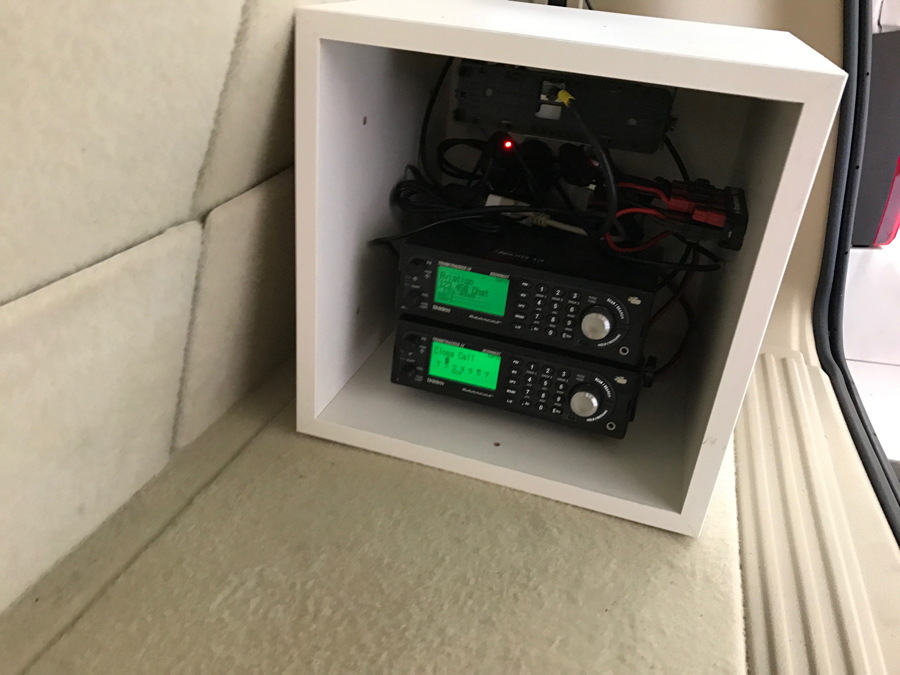
I faced the scanners out so I can access the programming ports. Both have added RH-96 ports on the back that I installed as the front ports are pretty flimsy.
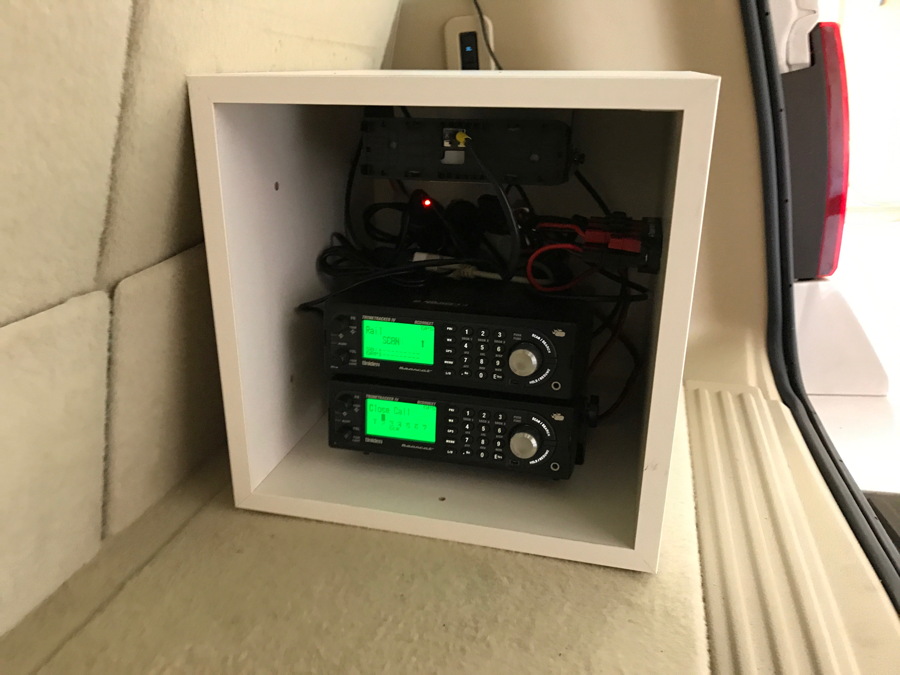
I oriented the box with the radios facing the center of the vehicle for easy access and for air flow. They are protected from direct sunlight by the box and the tinted windows.
After reconnection all worked well and a trip out to town today showed that there was no more bouncing. It takes up a lot less space and does not interfere with the third row seats.
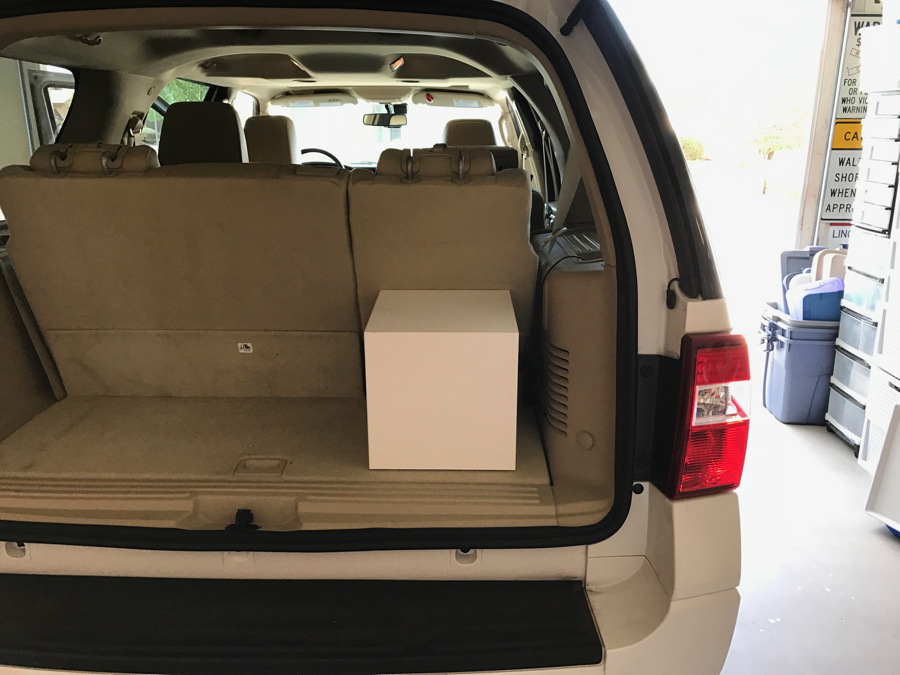
Here is the box in the vehicle:
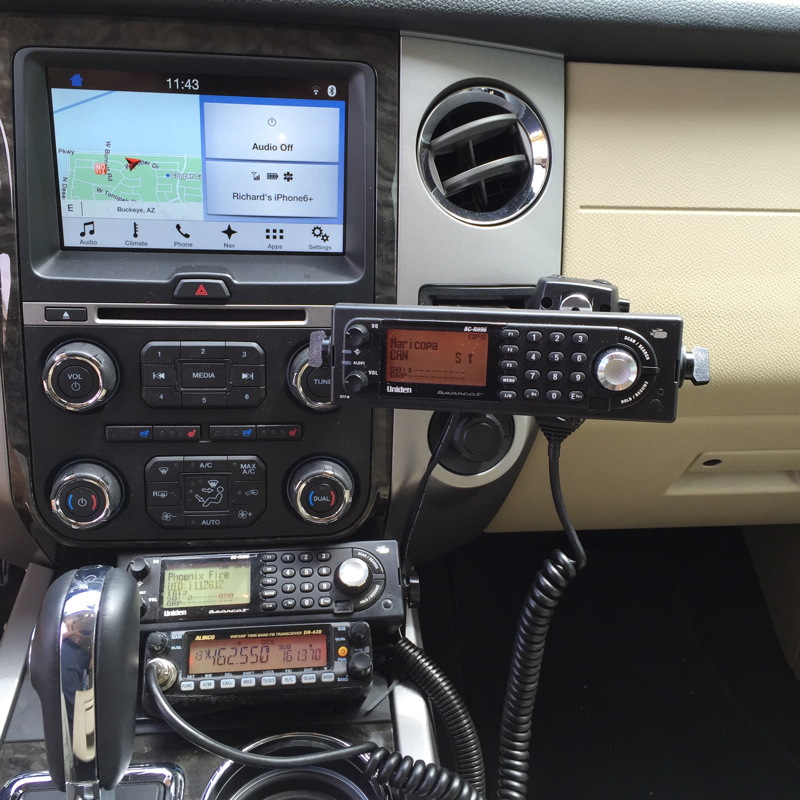
The control heads up front have not changed:
I looked and eventually found a nice wooden box on Amazon that was just the right size for my needs. I wanted something about 12 inches square, of finished wood and sturdy construction.I found this box, it was actually sold as cubby storage, the type you put a few pieces together to make shelves for knick-knacks etc.
Here is the old box:
Here is the box before it was populated on the work bench:
Next, I mounted the brackets for the 3 radios (2 996XT's and an Alinco DR-638) and then drilled 2 large holes in the rear for cable passage. I pulled the wires into the box, connected them and mounted the radio. Heavy duty Velcro hooks on the bottom keep it well secured to the floor of the truck bed.
I faced the scanners out so I can access the programming ports. Both have added RH-96 ports on the back that I installed as the front ports are pretty flimsy.
I oriented the box with the radios facing the center of the vehicle for easy access and for air flow. They are protected from direct sunlight by the box and the tinted windows.
After reconnection all worked well and a trip out to town today showed that there was no more bouncing. It takes up a lot less space and does not interfere with the third row seats.
Here is the box in the vehicle:
The control heads up front have not changed: