• To anyone looking to acquire commercial radio programming software:

    Please do not make requests for copies of radio programming software which is sold (or was sold) by the manufacturer for any monetary value. All requests will be deleted and a forum infraction issued. Making a request such as this is attempting to engage in software piracy and this forum cannot be involved or associated with this activity. The same goes for any private transaction via Private Message. Even if you attempt to engage in this activity in PM's we will still enforce the forum rules. Your PM's are not private and the administration has the right to read them if there's a hint to criminal activity.

    If you are having trouble legally obtaining software please state so. We do not want any hurt feelings when your vague post is mistaken for a free request. It is YOUR responsibility to properly word your request.

    To obtain Motorola software see the Sticky in the Motorola forum.

    The various other vendors often permit their dealers to sell the software online (i.e., Kenwood). Please use Google or some other search engine to find a dealer that sells the software. Typically each series or individual radio requires its own software package. Often the Kenwood software is less than $100 so don't be a cheapskate; just purchase it.

    For M/A Com/Harris/GE, etc: there are two software packages that program all current and past radios. One package is for conventional programming and the other for trunked programming. The trunked package is in upwards of $2,500. The conventional package is more reasonable though is still several hundred dollars. The benefit is you do not need multiple versions for each radio (unlike Motorola).

    This is a large and very visible forum. We cannot jeopardize the ability to provide the RadioReference services by allowing this activity to occur. Please respect this.

FTM-500D into Jeep Renegade

KD7RJC

Member
Joined
Jun 22, 2023
Messages
103
This was my experience installing a Yaesu FTM-500DR into a 2015 Jeep Renegade Trailhawk.

The single most difficult part was figuring out where to put the control head. I didn't want to go with a cupholder mount, the overhead console wasn't as suited as it was in my 2015 Frontier, and I wanted it to look as close to fac'try as possible.

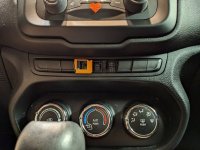
I settled on the mostly empty switch panel below the radio. This switch panel on this particular Renegade has only the hazard switch in it, the other eight positions are unpopulated. Since the hazard switch is important this meant relocating the hazard switch function up to a new button installed up between the center HVAC ducts, and since the switch is just a momentary telling the computer to turn on the hazards there weren't any OEM-type hazard switches that would do the job. I did find such a switch on Amazon, one of those kits with a bunch of possible labels to use.

This is the switch panel as it started:

hazard panel with all blank buttons.jpg

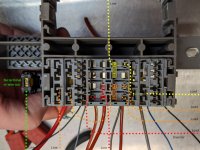
The cable connector uses yellow for 12V power to the light on the models that don't have heated seats, green with red stripe for the sense-wire for the switch, and black with violet stripe for the ground for both the light and the switch:
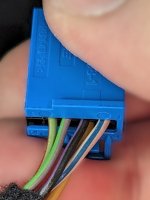
harness pins 1-5.jpg

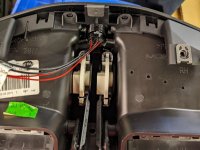
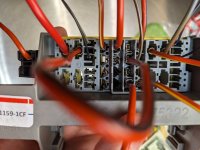
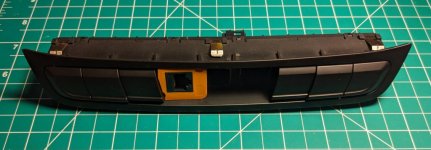
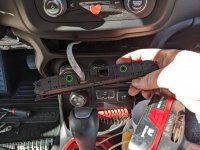
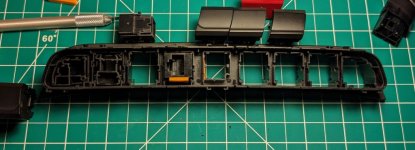
The switch panel itself pulled apart:
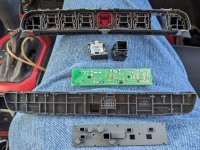
panel pulled apart.jpg

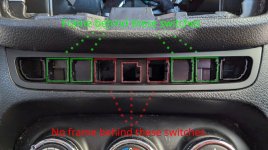
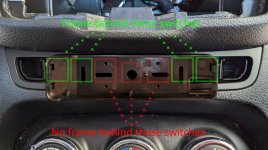
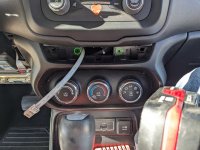
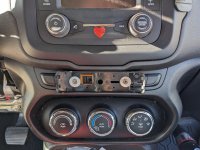
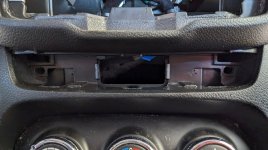
The dash without the switch panel along with the alignment of the switch panel individual switch positions:
centered-ysk7800-open-showing-structure.jpg

centered-ysk7800-switchhousing-annotated.jpg

And with a clone of the YSK-7800 head separation mounting plate:
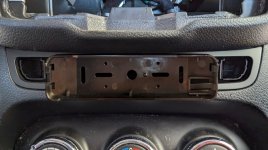
centered-ysk7800.jpg

centered-ysk7800-switchhousing-annotated-mount.jpg

...to be continued...
 

KD7RJC

Member
Joined
Jun 22, 2023
Messages
103
...continuing...

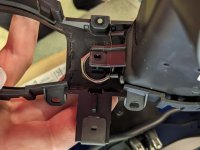
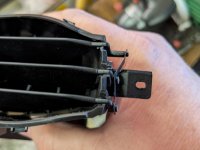
I had to make room in the HVAC register housing for the new location of the hazard switch.
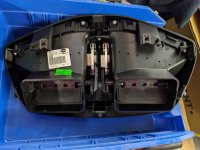
03 HVAC register underside before modding 01.jpg

04 HVAC register underside before modding 02 detail.jpg

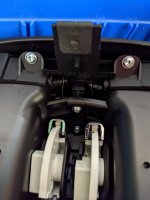
The black plastic rods that stick towards the center and have metal slides on them required rework to clear where the switch would go (large nut):
07 looking at changes required with switch retaining nut.jpg

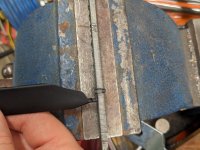
I filed and cut grooves to let me mount the metal slider in a different position:
09 filing post.jpg

10 cutting slot on main post.jpg

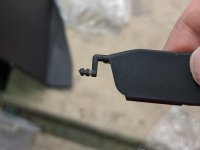
Then I bent the metal and test-fit before cutting the plastic rods shorter:
11 reassembled with bent rail.jpg

13 posts shortened.jpg

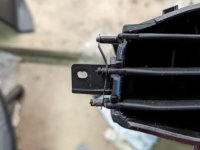
This left room for the switch to be installed in the front of the HVAC ducts:
17 clearance for the duct shutoff knobs.jpg


...to be continued...
 

KD7RJC

Member
Joined
Jun 22, 2023
Messages
103
...continuing...

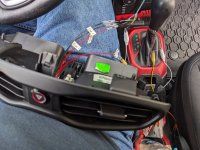
A friend of mine helped chose a resistor to step-down the voltage to the LED so it wouldn't be so bright, then we soldered the wires to some breadboard jumper wires that I socketed into a 2x5 header that fit neatly up against the factory header:
01 fin - testing dimming with various resistors.jpg

03 fin - installing final wiring into Renegade.jpg
we heatshrinked over the joint and put zip-ties on so it wouldn't be able to easily back out.

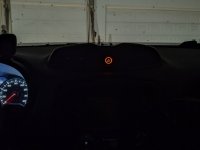
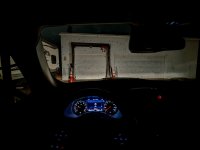
Final result for moving the hazard switch:
05 fin - dome light off to show dimness in the dark.jpg

06 fin - the full view in the dark.jpg

Now I can actually start the radio install itself.
 

KD7RJC

Member
Joined
Jun 22, 2023
Messages
103
On to the install...

I actually started with the antenna, I was holding off until I figured out what I wanted to do. After visiting a hamfest and seeing a hatchback SUV with an antenna mount that looked promising I ended up buying the Comet RS-730. It had the most options for orienting the bracket, and was part of a kit that includes a cable.

01 assembling mount 01.jpg

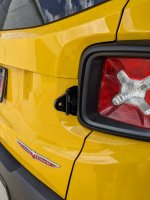
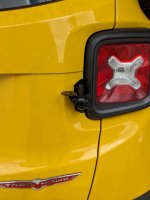
Ended up taking apart the mount and reversing the orientation of the triangular piece relative to the bracket it bolts to, this gave clearance to the taillight for the thumbscrew.

06 mount assembled 01.jpg

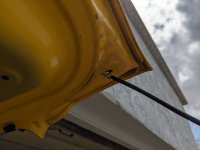
At the bottom of the liftgate there are standoffs that are used to adjust the hatch relative to the opening. These are keyhole-shaped and there's room for the necked-down wire to clear the standoff once everything is back together.
09 push cable into opening.jpg

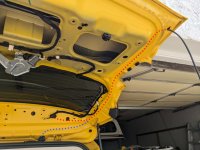
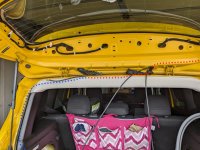
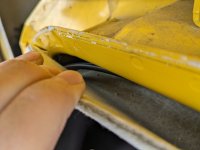
I fished the cable up and through the hatch, over to the rubber cable passthrough to the body, and around above the headliner down to the rear cargo area bulkhead.

10 cable pulled up the hatch past window frame.jpg

12 cable through rubber gasket tube and headliner.jpg

13 cable over headliner.jpg

14 cable behind interior plastic D-pillar.jpg

Cable at the standoff on the hatch:
15 cable routing at the mount to the penetration.jpg


...to be continued...
 

KD7RJC

Member
Joined
Jun 22, 2023
Messages
103
...continuing...

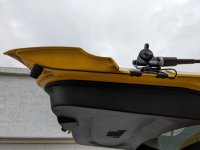
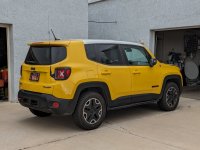
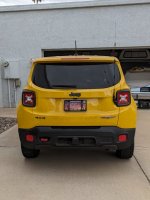
Antenna installed:
16 3-4 shot antenna installed.jpg

17 rear shot antenna installed.jpg

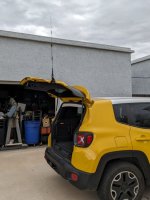
And I can rotate the antenna to vertical with the hatch open if I want to, when parked somewhere:
18 antenna rotated to be vertical on open hatch.jpg

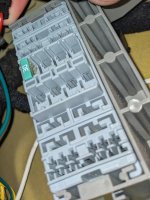
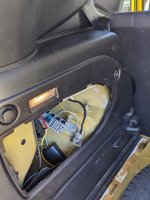
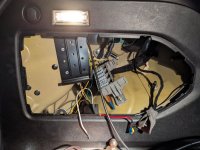
This Jeep has an auxiliary fuse panel located in the rear driver's side bulkhead in the cargo area. Since this particular Renegade doesn't have a lot of features, the only fuse installed is a 30A job for the power inverter. The line-side has two sockets populated with terminals ganged together, the load-side has only the terminal for the inverter, the second socket is unpopulated.
00 2015 trailhawk low-option rear area fuse block.jpg

I took a meter to it and found that it's connected to battery, unswitched. Consulting the manual and opening the fuse panel under the hood there's a 70A fuse and a large gauge wire supplying to this aux fuse panel. This is how I'm going to power the radio. I ordered a junkyard-pull fuse panel from a more upoptioned vehicle for parts and stripped it down.

01 junkyard reclaimed 2018 markedup.jpg

02 junkyard reclaimed 2018 underside.jpg

04 junkyard reclaimed 2018 mini-fuse terminals.jpg


For anyone who cares, this fuse block is from an Italian manufacturer called MTA, and is part number 0301564. The terminals appear to be common MTA terminals for mini-fuses.

...to be continued...
 

KD7RJC

Member
Joined
Jun 22, 2023
Messages
103
...continuing, back to the control head.

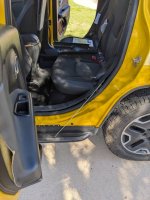
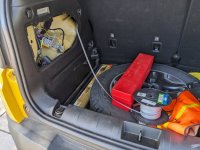
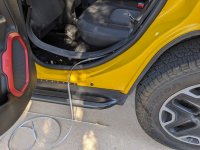
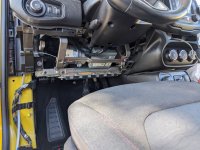
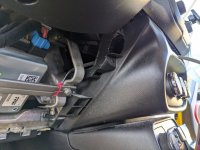
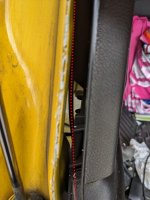
I started with the 8C modular cable. I had to pull the dash left side cover, the A-pillar insert, the driver's kick panel, the driver's knee bolster, the driver's rocker cover, the middle panel on the driver's B-pillar, loosening the driver's side lower B-pillar at the rocker, and loosening the rear door rocker cover. I fished my cable pulling rod up from the door to tie on the cable on the spool in the cargo area, pulling it in to the rear door opening:
01 fishing up from passenger door.jpg

02 rod visible in cargo area compartment.jpg

03 spool pulling of modular-8 cable.jpg

04 pulled into passenger door area.jpg

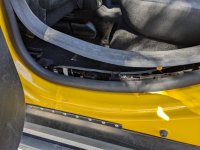
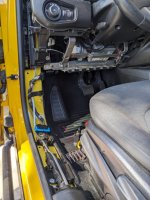
Then after I made sure to feed the cable through the factory cable management loops I pushed it through the area under the B-pillar plastic and up through the driver's sill and up past the kick-panel, across a metal bit of structure, then into the center stack:
05 pushed through B-pillar.jpg

06 routed through driver door area and up through dash.jpg

06 under dash detail.jpg

07 center stack detail.jpg

08 center stack termination and mounting holes.jpg

The two holes circled in green were drilled to bolt the YSK-7800 clone mounting plate to.

...to be continued...
 

KD7RJC

Member
Joined
Jun 22, 2023
Messages
103
...continuing...

Modifications to make the switch panel hold an 8P8C coupler:
01 modding switch panel for connector.jpg

02 modding switch panel for connector.jpg

03 modded switch panel.jpg

Similar holes driled in the old switch panel, enlarged to clear the screws:
09 holes in blanked switchplate.jpg

And mounting plate screwed on:
10 ysk-7800 mounting plate attached.jpg

I may end up putting some paint on the screw heads and washers so they're less visible, we'll see how much the vehicle is used without the control head installed though. If it's always on then I might leave it be.

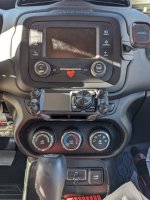
Control head:
11 FTM-500DR head installed on 2015 Jeep Renegade dash.jpg

...to be continued...
 

KD7RJC

Member
Joined
Jun 22, 2023
Messages
103
...and finally installing the radio itself, tying it all together.
In hindsight I should have installed the radio into the passenger's side cargo area bulkhead, and put the antenna on the driver's side. It would have been easier to physically install it without having to be as concerned about clearing the fuse block.

Drilled and riveted the factory bracket to the sheet metal, since there already are factory rivets in this area:
12 radio bracket riveted.jpg

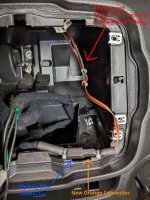
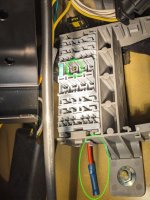
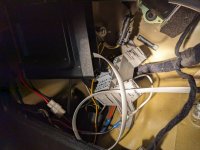
I ended up adding a terminal connector and stub of a wire to the fuse block:
13 fuse block F2 position populated with terminal and pigtail.jpg

Clearance to the seatbelt mechanism and fuse block:
15 clearance to seatbelt mechanism and to taillight wingbolt.jpg

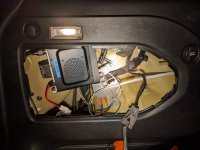
And radio installed:
14 FTM-500DR radio installed into 2015 Jeep Renegade.jpg

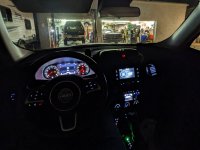
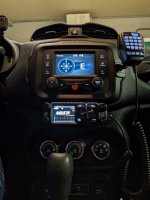
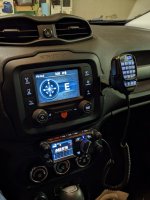
It's alive!

16 drivers view at night.jpg

17 center stack straight on.jpg

18 center stack from drivers view.jpg

I tested with my SWR meter on 146.540 and 440.600, got 1.00 and 1.01 respectively with the Comet antenna. I'd call that a success.

I hadn't yet programmed the radio so I haven't really used it much yet, receive is excellent listening to others.

Only major thing left, I need to figure out where to mount the handmic hanger. But that's comparatively minor an issue.
 

KD7RJC

Member
Joined
Jun 22, 2023
Messages
103
Looks like a good install. I still can't get into the 500 but I'm old and like the 400 display.
I had considered the 400 but by the time I got off my butt to start doing this they weren't available new anymore. Yaesu had put the FTM-500 on sale and I ended up buying two so I could upfit two vehicles.

FTM-400s come up for sale on the offerup/craigslist classifieds and at hamfests but sellers are wanting as much for them as for the 500. For now I sort of understand that since if someone just missed the boat and wants one there's a very limited supply, but a lot of other radios have sales asking-prices the same or even higher than they are brand new right now. I've seen FTM-500Ds at hamfests and on sites like ebay where the asking price is more than I paid for the radio new-in-box that I put in the Jeep.

It really was the combination of the speaker integrated into the control head and the handmic jack on the control head that made this appeal from the Yaesu point of view, and that the 3rd party repop of the YSK-7800 mounting plate fits the 500's control head sealed the deal. And of course the use of commodity 'modular' cable that I either had or could get cheap.

I may end up testing how tolerant the FTM-500D is to having a Y-adapter and a second cable on the control head cabling, I'd like to put an 8P8C jack in the plastic bulkhead and a short length of cable to that Y-adapter plugged directly into the radio body, so that if we are ever operating at a campsite or in a park we could just take the control head off the dash, string a cheap Ethernet cable from the cargo area to a picnic table or something, and plug in and operate that way. But it would need to be good even with the ~20' of cable running up to the dash as essentially an open bridge tap. If it doesn't like that then I'd have to unplug the existing, but that wouldn't be too bad either, just not as automatic.
 

KD7RJC

Member
Joined
Jun 22, 2023
Messages
103
Had a chance to test it today, made a contact on a repeater in the 70cm band around 10 miles away. I was originally transmitting at 25W and the contact said that I was crystal-clear and suggested try low power, at 5W I was also crystal clear. So sounds like I lucked into a good install.

Also, if you want to use one of those dashboard magnetic phone mounts for a Yaesu handmic, I found that a 5mm fender washer fits on the back side of the handmic up against the stock plastic button and the factory screw will hold it on, the screw head protruding only barely. It seems enough to hold the handmic solidly on the "APPS2CAR" magnetic phone holders I have installed. I may add another magnet dash mount to free-up where the passenger's phone goes, we'll see.
 
Top