2011 Tahoe PPV Install

Status
Not open for further replies.

WX4EMT

Member
Premium Subscriber
Joined
Jun 17, 2008
Messages
702
Reaction score
5
Location
Tennessee
More pictures please!

Mike

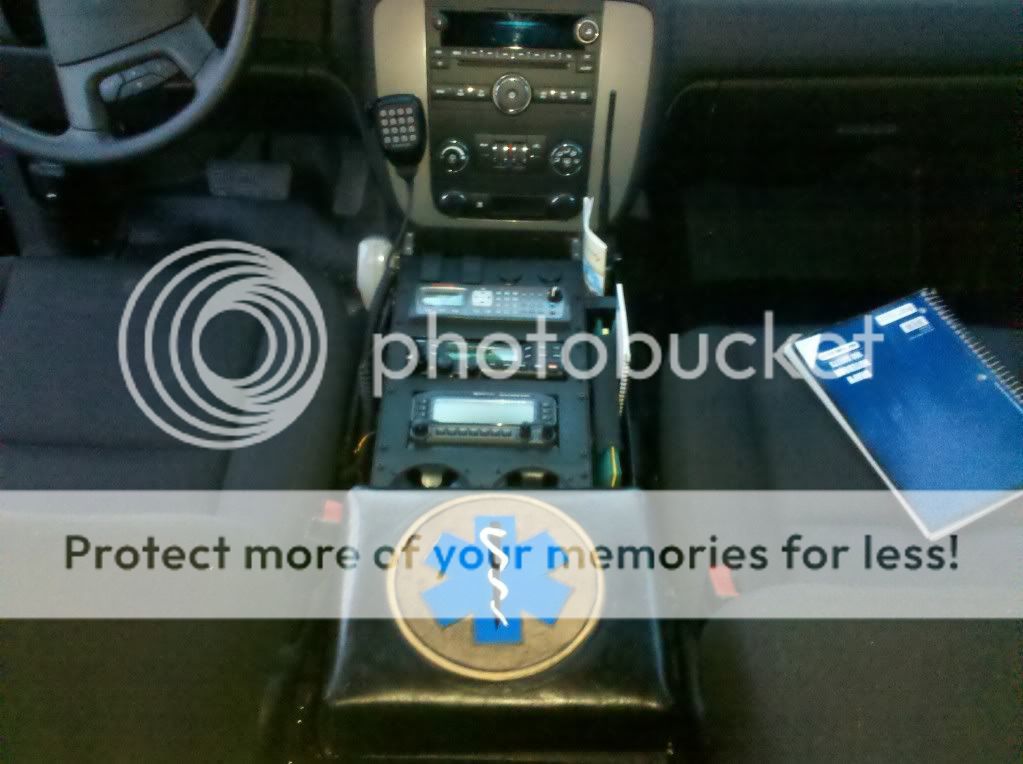
Sorry Mike, guess I'm getting behind, it's been a busy week and I'm a little under the weather (no pun intended) but hopefully I can get back on track this weekend. The armrest is next and a "REAL" switch panel after that.

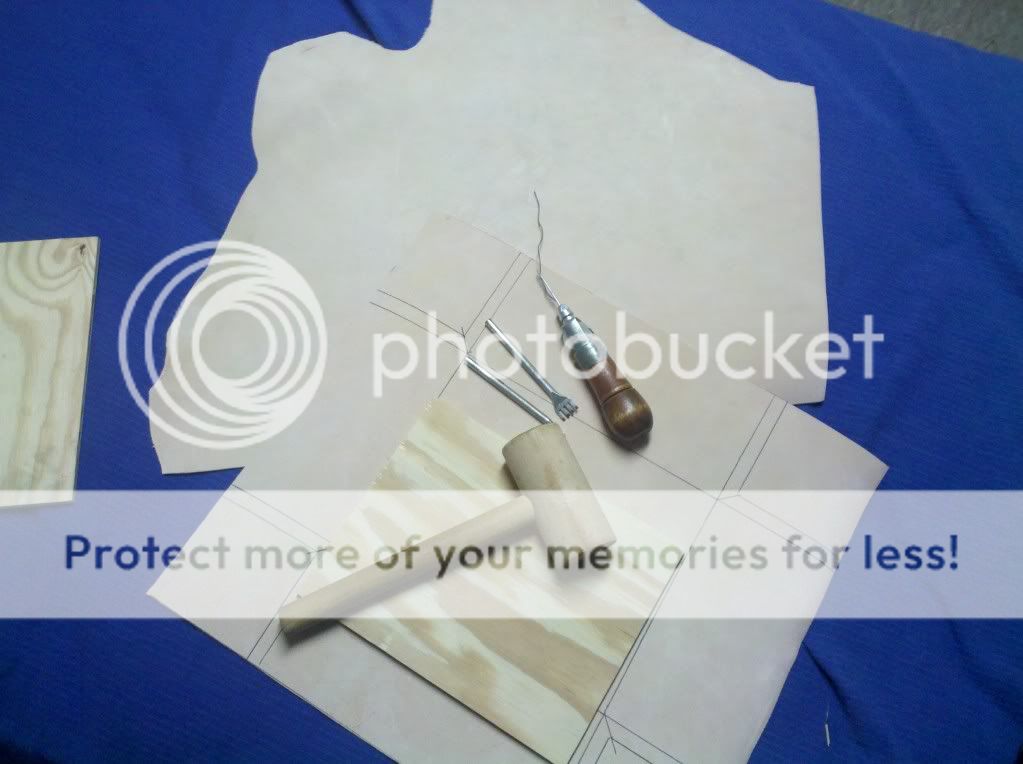
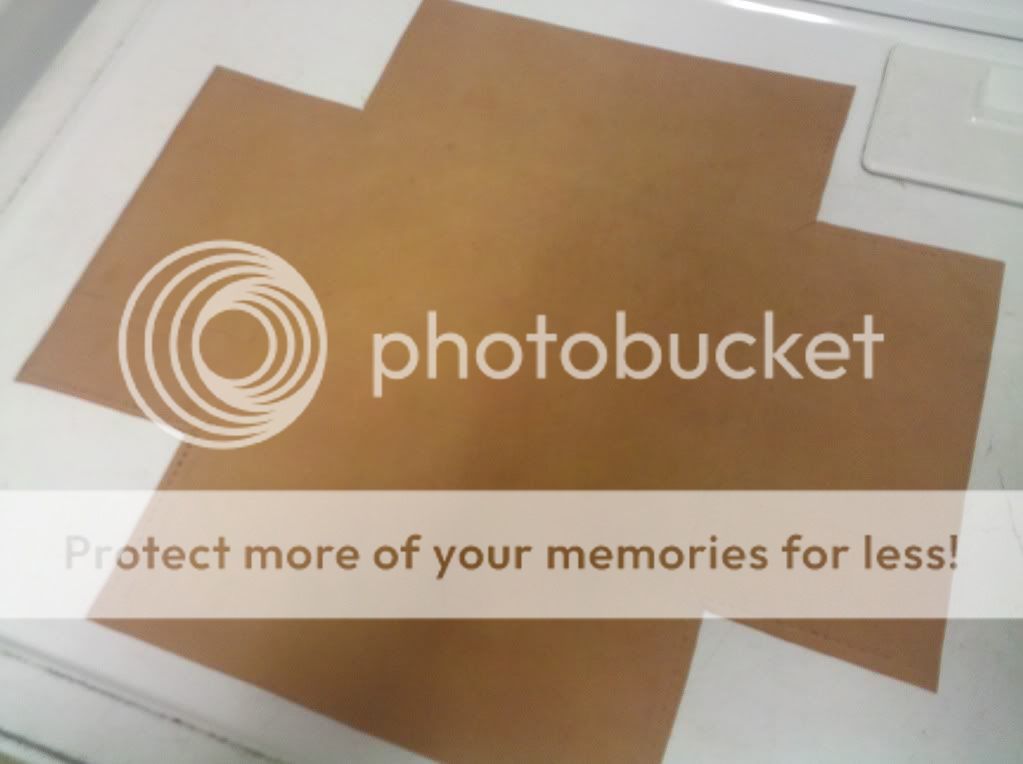
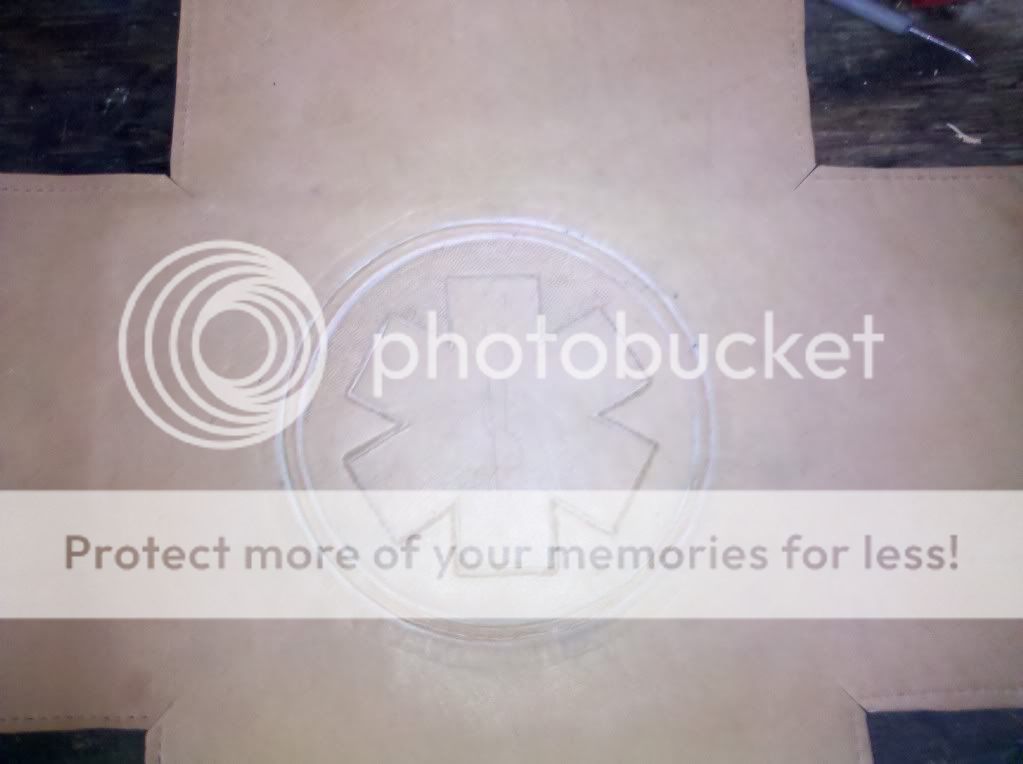
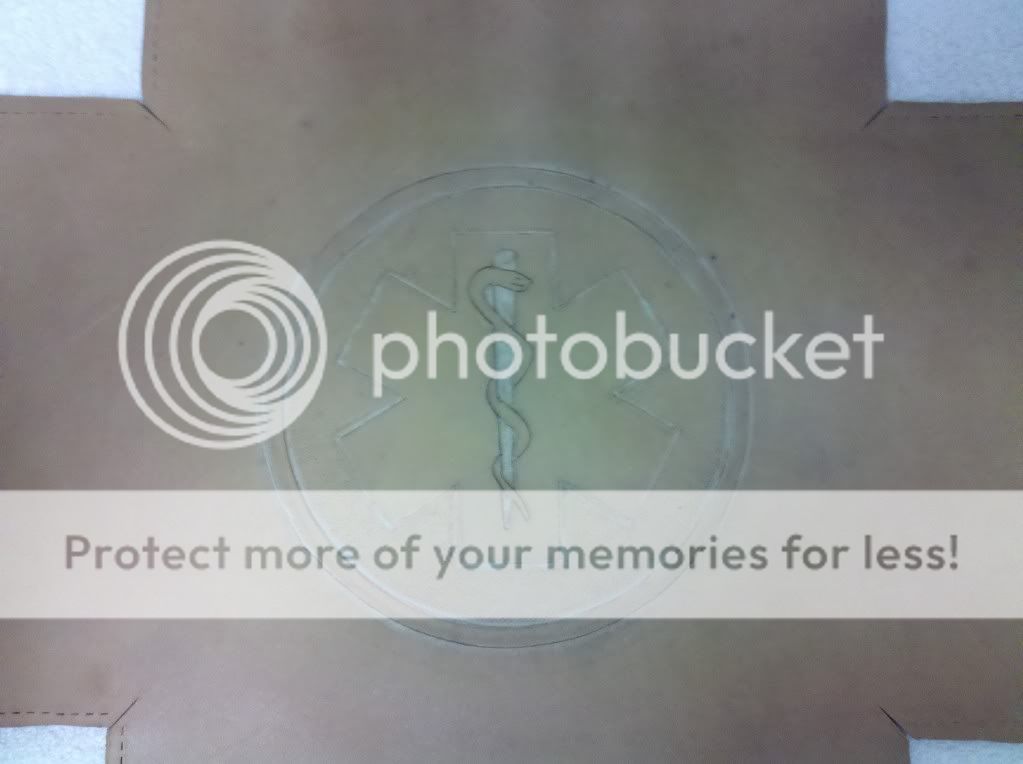
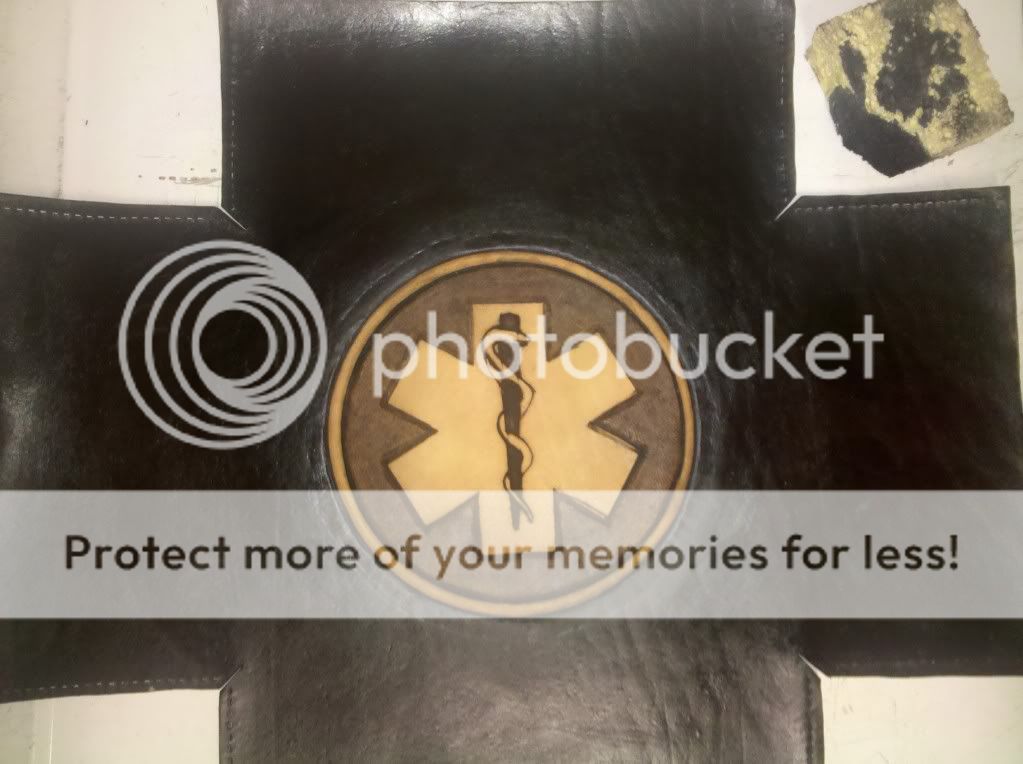
The leather armrest cover is the only "fancy" thing I have planned for this buildout but I really haven't settled on a design. I have a 10" x 10" area for tooling and the grain is very fine but it is definitely not supple, should tool nicely and wear a LONG time.
 

WatnNY

Database Admin
Database Admin
Joined
Dec 19, 2002
Messages
1,348
Reaction score
343
Location
Living The Dream In Tennessee
Well you should take care of yourself first and think of the hobby second. Because if you get REAL sick then we'll all have to wait even longer to see more of your install! Hope you feel better soon!

Mike
 

WX4EMT

Member
Premium Subscriber
Joined
Jun 17, 2008
Messages
702
Reaction score
5
Location
Tennessee
Well you should take care of yourself first and think of the hobby second. Because if you get REAL sick then we'll all have to wait even longer to see more of your install! Hope you feel better soon!

Mike

Or divy up my gear....!
 

madrabbitt

Member
Feed Provider
Joined
Apr 1, 2004
Messages
769
Reaction score
143
Location
NM
Just read thru from start to finish.
I'm both impressed and jealous.

I'd love a PPV or SSV, but I dont have the parking room, nor the fuel budget to justify it... although i've been contemplating applying for a position that would require something that size.


Suggestion on the spotlight. Buy the mount kit brand new from whatever online dealer has them cheapest (i hate to use the G word, but they're probably among the cheapest for the mounts)
Buy the spotlight itself used on ebay, refurb and paint it yourself.
Seriously consider the LED bulb from sirennet. $150 for the bulb, and they're AMAZING. Brighter and more functional then Unity's HID option, plus instant on, vs warmup time.


A suggestion for additional scene lighting would be the SR series from Rigid Industries. We're putting their 6 inch flood lens SR on either side of brush trucks and command trucks for scene lighting. They're about $190 each, agency pricing, but they're pretty amazing little lights for the size.
 

WX4EMT

Member
Premium Subscriber
Joined
Jun 17, 2008
Messages
702
Reaction score
5
Location
Tennessee
Layout pattern for leather armrest cover:

Armrest1.jpg


Cutout leather and punch sewing holes:

Armrest2.jpg


Once this dries it can be stained and stitched together.
 

WX4EMT

Member
Premium Subscriber
Joined
Jun 17, 2008
Messages
702
Reaction score
5
Location
Tennessee
Thanks Carlos it is a product of my upbringing.... An active imagination.... A not so wealthy family and a Mother that would NOT discourage me. Being in the Air Force under the Carter administration fully certified me to do anything with nothing.

The leather yields it's image:

Armrest4.jpg


The star of life is cut into relief and the background is shaded:

Armrest5.jpg


Once this dries I will stain and finish it with black border, tan inner circle & staff with blue star and white snake. Anyone know where I can get foam rubber by the yard?
 

KF0APA

Member
Joined
Nov 23, 2011
Messages
18
Reaction score
0
Location
Lebanon Mo
foam rubber by the yard is usually available at your local Joann's store, or try any fabric store if no Joann's. Nice work!! I really like the Star of Life.
 

rescue161

KE4FHH
Database Admin
Joined
Jun 5, 2002
Messages
3,720
Reaction score
681
Location
Hubert, NC
I'm with Carlos on this. It just keeps getting better.

Are you going to have the seems exposed or are you going to tuck them and sew from the inside? I'm assuming exposed seem.

Either way, you're blowing me away with your skills.
 

WX4EMT

Member
Premium Subscriber
Joined
Jun 17, 2008
Messages
702
Reaction score
5
Location
Tennessee
I'm with Carlos on this. It just keeps getting better.

Are you going to have the seems exposed or are you going to tuck them and sew from the inside? I'm assuming exposed seem.

Either way, you're blowing me away with your skills.

I'll be using a blind stitch because that's the strongest seam. Perhaps I can fight the Christmas crowds tomorrow and find the stuff to finish this little diversion.

BTW does anyone know if Brooking Industries faceplates are compatable with Troy Consoles? The ad says compatable with all consoles but I now know for a fact that Havis and Troy are NOT compatable. This monster looks interesting:

Brooking.jpg


Brooking Industries Ltd.
 
Last edited:

WX4EMT

Member
Premium Subscriber
Joined
Jun 17, 2008
Messages
702
Reaction score
5
Location
Tennessee
Black dye on the outer and highlighter in the inner ring. Now to do the star and snake then stitch it up.

Armrest6.jpg
 

WX4EMT

Member
Premium Subscriber
Joined
Jun 17, 2008
Messages
702
Reaction score
5
Location
Tennessee
is there anything you cant do?? LOL

Yes there is! I can't seem to find a part time job to help finance this project.

Bear with me, it will be slow for a while as I continue to collect parts.
 

WX4EMT

Member
Premium Subscriber
Joined
Jun 17, 2008
Messages
702
Reaction score
5
Location
Tennessee
Finally, the holidays are over, it's time to get back to work on the Tahoe.

We'll start with a Brooking Industries 6 switch panel:

Switch1.jpg


If I just slap it in the legends are hidden at the front of the console by the switches themselves. I'm going to remove each switch and rotate it 180 degrees then re-wire the switch panel to include molex disconnect so that "WHEN" something fails it will be easy to remove - test - repair & replace.
 
Status
Not open for further replies.
Top