For those interested, with muchly appreciated help from NLT, 2 weeks later, I have new knobs, black front housing, rear assay plate etc. I've completed the change out - it was easier than first thought. I have one of the original versions of the 100P, thus my flex cables were treated with the utmost care. I left them plugged into the main board and reinforced them with masking tape prior to popping them out of the sides. For those in Australia - NLT can help, just reach out to them.
The advice provided earlier, in this forum, was very useful - thank you to those who contributed. The only thing I'd change is probably what was said earlier - leaving the RF plugged into the board in its u.fl connector - it was a pain to get back on.
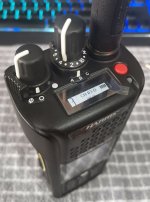
I've taken a bunch of pictures of the internals etc. To be honest, I'm too lazy to put together a comprehensive guide, but if I can do it using the notes from previous posts, anyone can. The hardest part was putting the new knobs on - more so thinking I was going to break the posts. I found the best way was to 1) volume first and then channel selector. 2) push the knobs down onto the posts but pushing the top of the knobs into something flat - I used the edge of my desk and then pushed the bottom of the radio.
I've attached a zip file with all of the pictures I took.
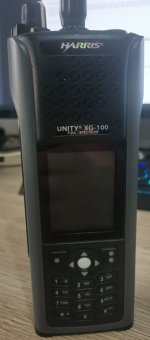
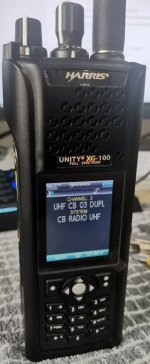
Here is the before and after. Black is def' much nicer looking. The keyboard is no longer sticky!
If anyone has any questions - give me a yell
")
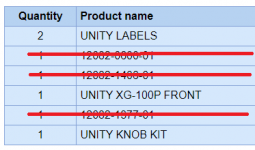
Here are the NLT part #s I used to refurb the unit:
The items crossed out were the handheld speaker/mic and an extra concentric knob which I didn't need.